
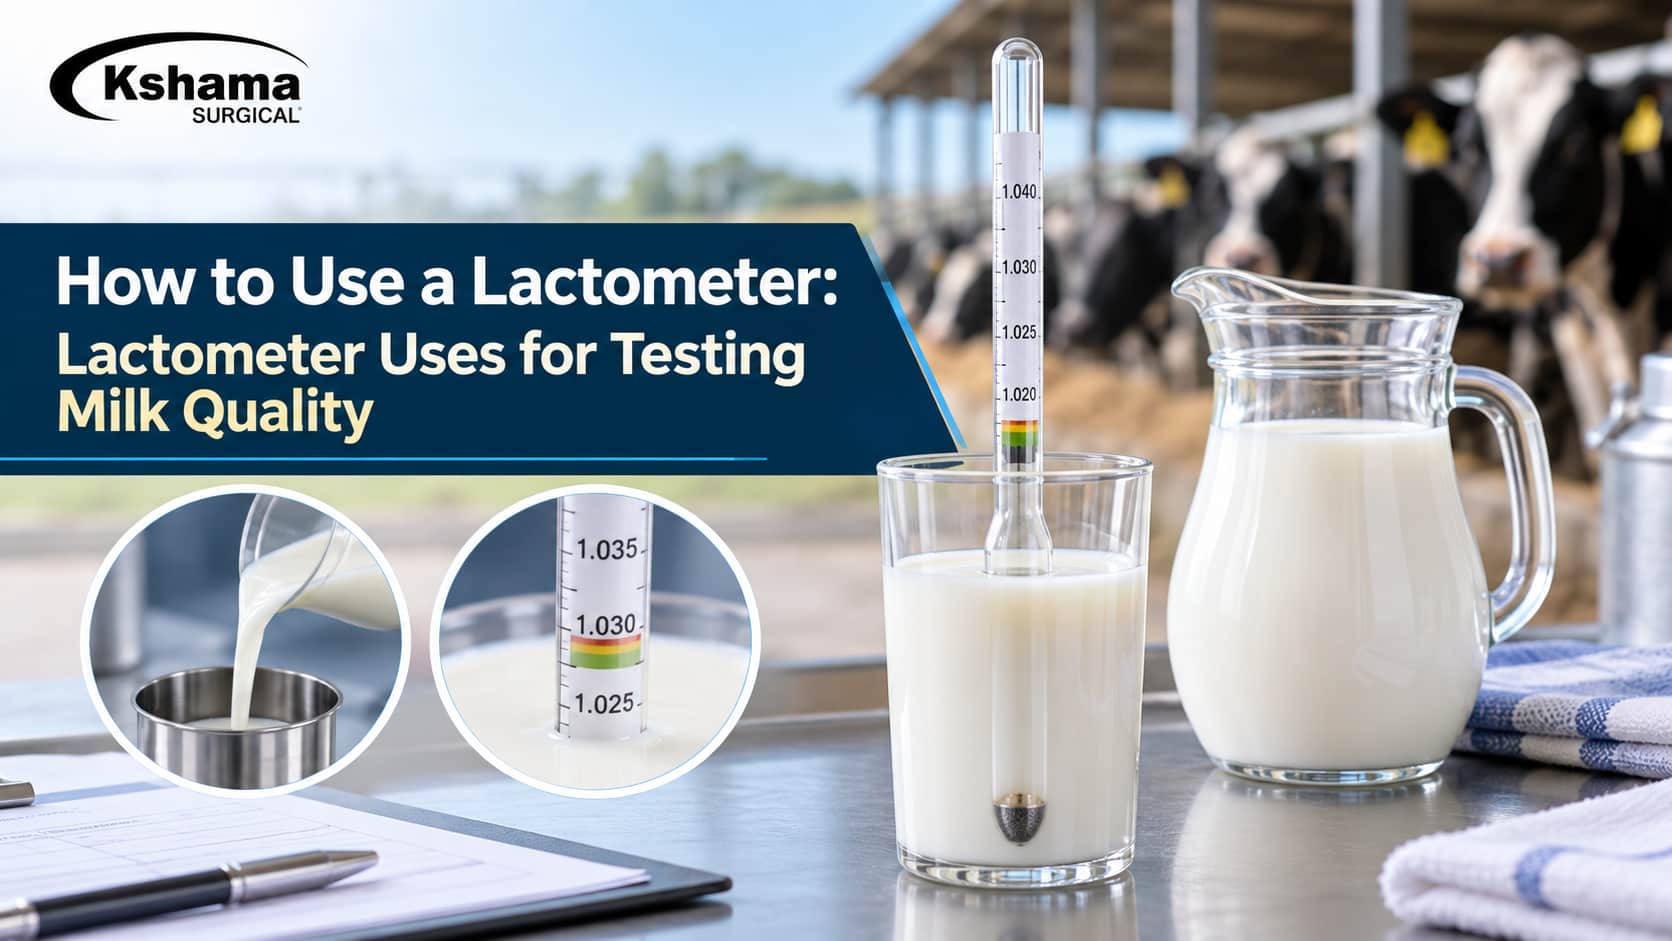
Milk quality is an important part of dairy farming. Farmers, milk collection centres and dairy businesses need simple ways to check milk before it is accepted, processed or sold. A lactometer is one such instrument that helps measure milk density and provides an initial indication of changes in milk composition. For farmers who want to understand the instrument better, the Kshama Surgical lactometer milk testing guide explains its basic application and purpose.
Understanding lactometer uses can make routine milk checking easier. The instrument is simple to operate, but getting a reliable result requires proper sample preparation, correct handling, accurate temperature measurement and careful reading of the scale. A small mistake during testing can affect the result.
A lactometer is mainly used for density testing. It cannot provide a complete analysis of milk quality, so unusual results should be checked with other suitable testing methods. Still, when used correctly, it can be a practical tool for regular screening.
This guide explains lactometer uses, milk density, the correct testing procedure, reading interpretation, water adulteration, temperature correction, cleaning, storage and factors to consider when selecting a dairy lactometer.
Table of Contents
- What Is a Lactometer
- How Milk Density Indicates Quality
- How to Use a Lactometer Step by Step
- Preparing the Milk Sample
- Reading the Lactometer Scale
- What Lactometer Readings Mean
- Detecting Water Adulteration
- Temperature Correction and Accuracy
- Care and Storage of Your Lactometer
- Buying a Reliable Dairy Lactometer
- Frequently Asked Questions
What Is a Lactometer
A lactometer is an instrument designed to measure the density or specific gravity of milk. It usually consists of a weighted floating body and a graduated stem. When placed carefully in a milk sample, it floats at a level related to the density of the liquid.
One of the most practical lactometer uses is checking whether the density of a milk sample falls within an expected range. Milk contains water, fat, protein, lactose, minerals and other solids. The proportion of these components influences the overall density.
Milk density is commonly reported around 1.028 to 1.034 g/ml at 15°C, although actual values can vary according to milk composition and testing conditions. Therefore, the result should always be considered along with the temperature and the characteristics of the sample.
The instrument is useful because it provides a quick result without requiring complicated laboratory equipment. However, lactometer uses are mainly related to density screening. A lactometer cannot independently measure fat, protein, bacterial contamination, antibiotics or every possible adulterant.
For this reason, farmers should use the instrument as part of a wider milk quality checking process rather than treating one reading as a complete quality report.
How Milk Density Indicates Quality
The main principle behind lactometer uses is density. Density describes the amount of mass present within a particular volume of liquid. A lactometer floats differently depending on how dense the milk is.
Milk contains several substances that have different densities. Milk fat is lighter than water, while many of the milk solids are denser. Because of this, a change in the balance of fat, water and other solids can change the density of the milk.
When water is added to milk, the density generally becomes lower. This makes a milk density test useful for preliminary screening of possible water dilution. On the other hand, removing some cream or fat can increase the density because fat is less dense than many other milk components.
This means a lactometer reading should not be interpreted without considering the full situation. Natural differences in milk composition can also affect density.
Understanding these factors makes lactometer uses more meaningful because the farmer can recognise that the instrument provides an indication rather than a final diagnosis.
How to Use a Lactometer Step by Step
Learning lactometer uses starts with understanding the correct testing procedure. The steps are simple, but each one contributes to the reliability of the final reading.
First, collect a representative sample of milk in a clean container. If the milk has been standing for some time, gently mix it so the fat and other components are reasonably distributed.
Next, check the temperature of the sample. The required testing temperature depends on the calibration of the lactometer. If the sample is not at the reference temperature, a suitable correction may be required.
Pour the milk into a clean measuring cylinder. There should be enough milk for the lactometer to float freely without touching the bottom.
Gently lower the lactometer into the milk. Do not force it down into the liquid. Allow it to settle naturally and make sure it does not touch the sides of the cylinder.
When the movement has stopped, read the scale with your eyes level with the milk surface. Record the reading together with the milk temperature.
Finally, apply the appropriate temperature correction according to the calibration and instructions of the instrument.
Following the same procedure each time makes lactometer uses more consistent and makes it easier to compare different samples.
Preparing the Milk Sample
Sample preparation is an important part of lactometer uses because the result needs to represent the milk being tested.
If cream has separated at the surface, gently mix the milk before taking the sample. The purpose is to distribute the components without creating excessive foam.
Avoid shaking the sample vigorously. Large amounts of bubbles can make the milk surface difficult to observe and may interfere with the reading.
The measuring cylinder must also be clean and dry. Traces of water, detergent or milk from an earlier test can affect the sample.
Before testing, check the lactometer for milk residue or dirt. A clean instrument will float more consistently and will be easier to read.
Once the sample is ready, pour enough milk into the cylinder and place the instrument carefully in the centre.
Reading the Lactometer Scale
Correct scale reading is another important part of lactometer uses. After placing the instrument in the sample, allow it to settle completely before taking the reading.
The lactometer should float freely without touching the bottom or sides of the cylinder. If it touches the container, the result may not accurately represent the density of the milk.
Place your eyes level with the milk surface. Looking down from above or upward from below can create parallax error. This can cause the reading to appear higher or lower than it actually is.
Different lactometers may use different scales. Some instruments display specific gravity, while others use lactometer degrees. Always check which scale your instrument uses before interpreting the result.
The liquid may form a curved surface, known as a meniscus, around the stem. Follow the reading instructions provided with your specific instrument.
Record both the lactometer reading and temperature so that the result can be interpreted correctly.
What Lactometer Readings Mean
Correct interpretation is one of the most useful lactometer uses for farmers and milk collection workers.
A lactometer does not directly classify milk as good or bad. Instead, it measures density. That density is influenced by milk composition, temperature and other factors.
A commonly referenced milk density range is approximately 1.028 to 1.034 g/ml at 15°C. However, this should not be treated as a universal pass or fail range for every milk sample.
A lower reading may suggest possible water addition or another change in composition. A higher reading may occur when some fat has been removed or because of another change in the milk.
| Lactometer observation | Possible interpretation |
| Reading within the expected range | Density may be within the normal range |
| Lower-than-expected reading | Possible dilution or composition change |
| Higher-than-expected reading | Possible fat removal or composition change |
| Unexpected result | Repeat the test and consider further testing |
A single reading should not automatically be considered proof of adulteration. Milk can naturally vary because of breed, feed, stage of lactation and other conditions.
Therefore, one of the important lactometer uses is identifying samples that deserve further attention rather than making a final decision from density alone.
Detecting Water Adulteration
Checking for possible water dilution is among the most recognised lactometer uses.
Water has a lower density than normal milk. When water is added, the density of the resulting mixture generally decreases. This means a lower-than-expected reading can raise suspicion of possible water adulteration.
However, the reading does not prove that water has been added. Temperature, sample preparation, natural milk variation and other changes in composition can also influence the result.
For this reason, a milk density test should be considered an initial screening method. If a sample gives an unusual result, repeat the test under controlled conditions.
If the result remains unusual, additional testing should be considered. Other methods may be required to confirm adulteration or determine the exact cause of the abnormal density.
Understanding the limitations of the instrument is an important part of responsible lactometer uses.
Temperature Correction and Accuracy
Temperature has a significant effect on milk density, making it an important consideration in lactometer uses.
When milk becomes warmer, it expands and its density changes. Since a lactometer responds to density, the displayed reading can also change as the temperature changes.
Every lactometer is calibrated for a particular reference temperature. Depending on the model, the calibration may be 15°C, 20°C or another specified value.
For example, a lactometer calibrated at 15°C may require correction when the milk sample is tested at a higher or lower temperature. The exact correction depends on the instrument and its scale.
The milk temperature should therefore be measured at the time of testing. The appropriate correction table or manufacturer’s instructions should then be used to interpret the reading.
For dependable lactometer uses, avoid comparing two readings taken at substantially different temperatures without making the required correction.
Temperature correction is a small part of the testing process, but ignoring it can lead to incorrect conclusions about milk density.
Care and Storage of Your Lactometer
Proper maintenance is necessary for reliable lactometer uses over a long period.
After testing, rinse the instrument with clean water to remove milk residue. Milk should not be allowed to dry on the surface because dried residue can become difficult to remove.
Avoid abrasive cleaning materials that could scratch the instrument or damage the scale markings. If a cleaning solution is recommended by the manufacturer, use it according to the supplied instructions.
The measuring cylinder should also be cleaned after every sample. Any remaining milk, detergent or water can affect the next test.
After cleaning, allow the instrument to dry before storing it. Keep it in a protective case or another safe place where it will not be dropped or struck against other equipment.
Inspect the scale regularly to make sure the markings remain clear. The lactometer should also be checked for cracks or other visible damage.
If the instrument is dropped or damaged, its accuracy should be checked before using it for important milk testing.
Keeping records can also improve lactometer uses in regular dairy operations. Recording the date, sample temperature and reading allows farmers or collection centres to compare results over time and notice unusual changes.
Buying a Reliable Dairy Lactometer
When selecting a lactometer, buyers often compare the lactometer price first. Price is important, but it should not be the only consideration.
A reliable lactometer for milk testing should have a clearly marked scale, suitable calibration and construction that can withstand regular handling. The scale should be easy to read because unclear markings can increase the possibility of reading errors.
The calibration temperature should be clearly stated. This information is necessary when applying temperature correction.
The measuring cylinder used with the instrument should also provide sufficient space for the lactometer to float freely. If the instrument touches the cylinder, the reading may be affected.
When comparing lactometer price, consider the quality, calibration, readability and intended frequency of use. A slightly higher initial cost may be reasonable if the instrument is better suited to regular dairy testing.
For farmers and dairy professionals looking for related equipment, the Kshama Surgical dairy equipment category contains equipment intended for dairy animal care and veterinary applications.
For independent technical information about milk testing and quality assessment, the Food and Agriculture Organization dairy resources provide information about milk quality, testing methods and related practices.
Frequently Asked Questions
What are the main lactometer uses?
The main lactometer uses are measuring milk density and screening for possible changes in milk composition. It can provide an early indication of possible water dilution or fat removal, but it cannot replace complete laboratory milk testing.
How to use lactometer correctly?
To understand how to use lactometer correctly, begin with a clean and representative milk sample. Mix it gently, check the temperature, place the instrument carefully into a suitable measuring cylinder and allow it to float freely. Read the scale at eye level and apply the appropriate temperature correction.
What is a normal lactometer reading for milk?
Milk density is commonly referenced at approximately 1.028 to 1.034 g/ml at 15°C. However, natural milk composition and testing conditions can cause variation, so the instrument calibration and applicable testing standards should always be considered.
Can a lactometer detect water adulteration?
A lower-than-expected reading can indicate possible water dilution because adding water generally reduces milk density. However, lactometer uses should be treated as screening rather than conclusive proof of adulteration.
Does temperature affect a lactometer reading?
Yes. Temperature changes milk density and can therefore change the lactometer reading. The milk temperature should be recorded and the appropriate correction should be applied according to the calibration of the instrument.
Can a lactometer test complete milk quality?
No. A lactometer mainly measures density. Complete milk quality testing can require additional examination of fat, protein, acidity, microbial quality, residues and other parameters.
What should I consider when checking lactometer price?
When comparing lactometer price, consider the instrument’s calibration, scale clarity, construction, durability and suitability for your intended work. Choosing only on the basis of the lowest price may not provide the best long-term value.
Conclusion
A lactometer is a simple and useful instrument for routine milk density testing. The different lactometer uses make it practical for farmers, milk collection centres and dairy professionals who need a quick way to screen milk samples.
Accurate results depend on proper sample preparation, careful handling, correct scale reading and temperature correction. The instrument should also be cleaned and stored properly after every test.
It is important to remember that a lactometer provides a density reading rather than a complete milk quality report. An unusual result should therefore be investigated with suitable additional testing before a final decision is made.
If you are looking for reliable dairy and veterinary equipment, explore the Kshama Surgical catalogue to find instruments suited to your farm, dairy operation or professional requirements.
